
FREE UK SHIPPING WHEN YOU SPEND OVER £50!

Disintegrated Cracklebox
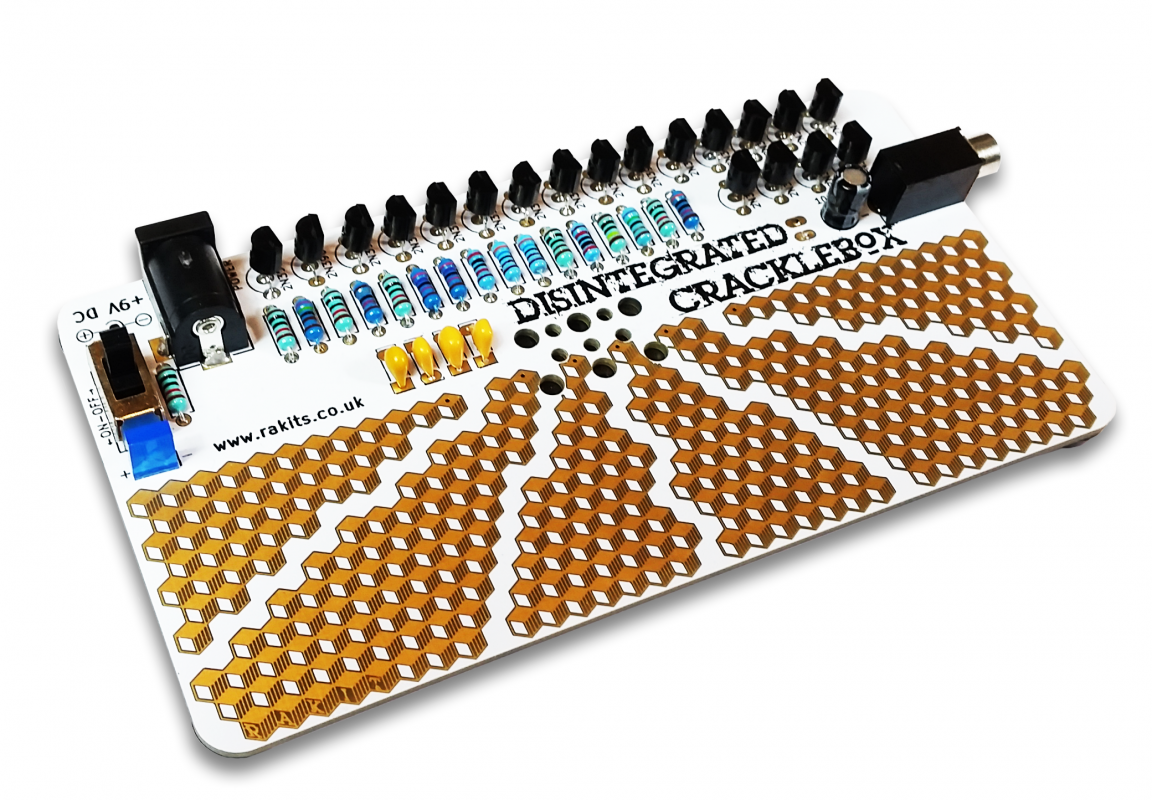
Thank you for purchasing the Rakit Disintegrated Cracklebox!
This kit is rated ‘easy’ and should take between 45 minutes to an hour to assemble.
Please read our ‘top tips’ before commencing assembly of your kit and if you are unsure or have any questions please contact us – we’ll be happy to help!
WHATS INCLUDED IN YOUR KIT
There are a lot of small components included in the Cracklebox Kit so please open the packaging carefully and check that all parts are present and correct using the parts list below before you start.
| PCB | 1 |
| Rubber Feet | 4 |
| Battery Connector Cable | 1 |
| 10n Ceramic Capacitor | 2 |
| 100n Ceramic Capacitor | 1 |
| 2n2 Ceramic Capacitor | 1 |
| 100u Electrolytic Capacitor | 1 |
| 2N3904 Transistor | 15 |
| 2N3906 Transistor | 4 |
| SPDT Slide Switch | 1 |
| 5.5mm x 2.1mm Barrel Socket | 1 |
| Speaker | 1 |
| Rectangular Blue LED | 1 |
| Lead Free Solder | 2-3g |
| 27k Resistor | 2 |
| 3k Resistor | 2 |
| 10k Resistor | 5 |
| 1k Resistor | 1 |
| 3k6 Resistor | 1 |
| 18k Resistor | 1 |
| 2.4k Resistor | 1 |
| 75R Resistor | 1 |
| 20k Resistor | 1 |
| 30k Resistor | 1 |
| 1M Resistor | 1 |
| 3.5mm Mono socket | 1 |
top tips!

let's get started
YOU WILL NEED:
Soldering Iron (and solder)
Flush Cutters
Pliers (Optional but handy)

Install capacitors.
The yellow capacitors are ceramic multi-layer types which are non-polarised and can be installed either way around.
Capacitor codes: 10n = 103, 100n = 104, 2n2 = 222
The black and white capacitor is an aluminium electrolytic type which are polarised and must be installed the correct way around. (see next step)

Take care to align the white stripe with the ( – ) as shown.
The long leg should fit into the ( + ) and the short leg ( – ).
Capacitors with clear markings* are nearly always polarised and care should be taken to decide its orientation.
*usually a stripe of different color to the main body indicates the negative terminal

Take care to install the long leg of the LED in the hole marked ( + ) and the short leg ( – ).
The LED has a polarity, when installed the wrong way it will not light up, but wont otherwise adversely affect the circuit.
| 30k | Orange-Black-Black-Red-Brown |
| 27k | Red-Violet-Black-Red-Brown |
| 20k | Red-Black-Black-Red-Brown |
| 18k | Brown-Grey-Black-Red-Brown |
| 10k | Brown-Black-Black-Red-Brown |
| 3.6k | Orange-Blue-Black-Brown-Brown |
| 3k | Orange-Black-Black-Brown-Brown |
| 2.4k | Red-Yellow-Black-Brown-Brown |
| 1k | Brown-Black-Black-Brown-Brown |
| 1m | Brown-Black-Black-Yellow-Brown |
| 75R | Violet-Green-Black-Gold-Brown |
Resistor Colour Codes

Insert all the resistors, take care to check the color codes against the supplied chart and the board markings.
Resistors are not polarity sensitive and can be installed either way around.
To avoid mistakes it can be helpful to insert all resistors of one value and then make sure there are not any remaining places with that values marking. This could indicate that one or more of the parts are in the incorrect position.

Trim the component pins close to the PCB. The pins must not be left long enough that they will have contact with each other and cause shorts in the circuit.

Install the 2N3906 transistors with the flat side facing the board marking ‘2N3906’.
To help with soldering the pins can be gently bent outwards.

All 2N3906 transistors installed.

Follow the same installation procedure for the 2N3904 transistors.

Power switch installed, this can be installed either way around.

Power socket installed, it only goes in one way!

Install the mono output jack, when the mono jack is in use the speaker will be shut off.

Peel the paper away from the speaker and apply to the underside of the PCB in the oval marking. Press lightly to make sure the speaker is properly stuck.

With the speaker stuck to the PCB, carefully route the wires to the holes and solder:
( + ) red wire
( – ) black wire
Stick the 4 rubber feet in the circles in the corners.

Congratulations you made it to the end!
Now it’s time to plug in a battery, hand out the earplugs to your loved ones and start playing!
Your body becomes part of the circuit by touching the gold pads. This means you need to have multiple fingers (ideally both hands) on the board to complete the circuit and produce a sound. Touching the pads with one finger will not work!